Mar 14, 2024
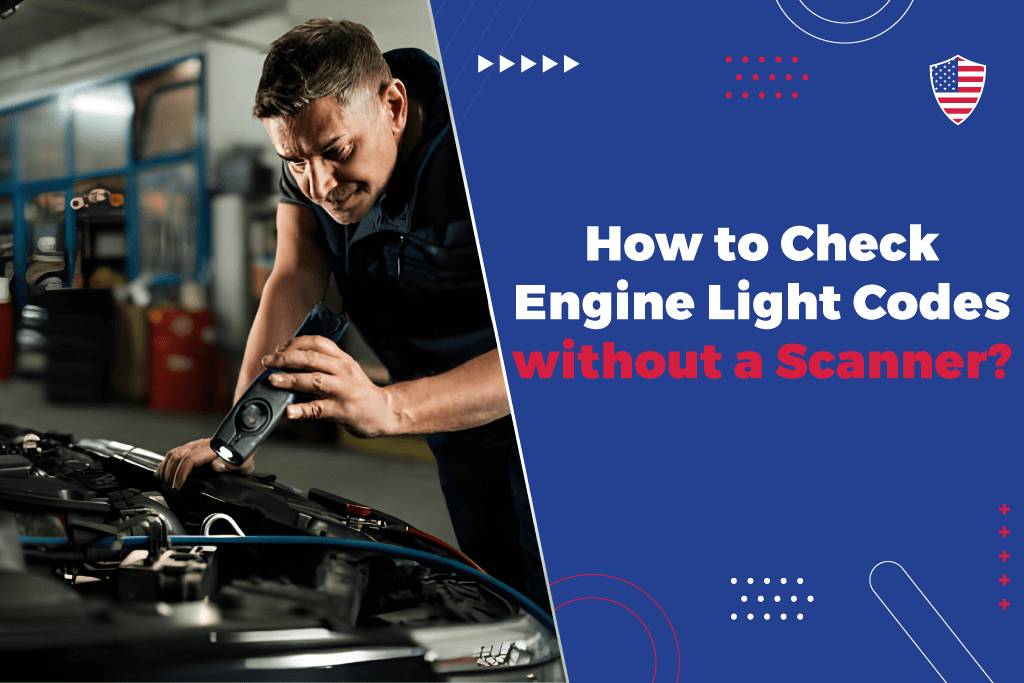
How to Check Engine Light Codes Without a Scanner?
Discover expert solutions for Check Engine Light issues and more with American Dream Auto Protect. Reliable coverage for worry-free driving. Get protected today!
Ever get in your car, see a scary orange light on the dash, and totally freak out? That's the check engine light. It comes on but doesn't tell you why, leaving you wondering if it's a small problem or a big one. Don't worry! This guide will help you understand your car's secret language without needing a fancy scanner.
We'll show you how to use everyday things to get your car's secret codes. By the end, You'll turn the check engine light from a scary thing into a way to see how healthy your car is. Most importantly, you'll be able to keep your car running well and avoid expensive problems later. So, grab your imaginary magnifying glass and join us on this code-cracking adventure!
Understanding the Check Engine Light:
The Check Engine Light (CEL), also known as the Malfunction Indicator Lamp (MIL), is a warning indicator on a vehicle's dashboard that illuminates when the onboard diagnostic system (OBD) detects a problem with the vehicle's engine, transmission, or emission control system. Its primary function is to alert the driver of a potential issue that may affect the vehicle's performance, fuel efficiency, or emissions.
Different Code Types:
Generic Codes:
These are standardized codes defined by the Society of Automotive Engineers (SAE) and are common across all vehicle manufacturers. They provide general information about the type of problem detected, such as a malfunctioning sensor or a specific engine issue.
Manufacturer-Specific Codes:
These codes are specific to particular vehicle manufacturers and may provide more detailed information about the problem detected. They can offer insights into manufacturer-specific systems or components that are experiencing issues.
DIY Method to Read Check Engine Light Code:
Utilizing the ignition key for OBD-II code retrieval is a prevalent and straightforward method that many vehicle owners can use to diagnose issues triggering the Check Engine Light. This approach is widely compatible across various vehicle makes and models equipped with OBD-II (On-Board Diagnostics II) systems, which became standard on most vehicles manufactured after 1996. Here's how you can perform this DIY diagnostic technique:
- Insert the Ignition Key: Place the key into the ignition without starting the engine.
- Cycle the Key: Turn the key to the "On" position (where dashboard lights come on, but the engine is off), then back to "Off." Repeat this process 3 to 5 times, ending in the "On" position.
- Watch the Dashboard: In some vehicles, the check engine light will begin to flash in a series of long and short pulses. Count the flashes to determine the trouble code (e.g., 3 long flashes and 2 short flashes = code 32).
- Interpret the Code: Refer to your vehicle’s service manual or an online database to match the code with the corresponding issue.
- Reset if Needed: Some vehicles allow you to clear the code by disconnecting the battery for a few minutes, though this is only recommended after addressing the root cause.
It's important to note that while retrieving and interpreting OBD-II trouble codes using the ignition key method can provide valuable insights into potential issues, it may not always provide a complete diagnosis. For a more thorough analysis, consider using an OBD-II scanner or code reader, which can provide real-time data and additional diagnostic capabilities.
Techniques for Reading Check Engine Light Codes Without a Scanner:
Method 1: Using Your Odometer to Read Engine Codes:
Limitations: This method may not work on all vehicle models, as the availability of diagnostic functions through the odometer reset button varies. Additionally, some vehicles may display limited information or require additional steps for code retrieval.
Method 2: Repeated Ignition Cycles with Odometer Reset:
For vehicles that do not support Method 1, an alternative approach involves repeatedly cycling the ignition key on and off while using the odometer reset button to access diagnostic information.
Method 3: Utilizing the Ignition Key for Dashboard Code Display:
Note: The exact sequence of turning the ignition key on and off may vary depending on the vehicle make and model. Refer to the vehicle's owner's manual for specific instructions tailored to your car. Additionally, this method may not work on all vehicles, particularly newer models equipped with more advanced diagnostic systems. If unsure, consult a professional mechanic or use an OBD-II scanner for accurate code retrieval.
Seeking Assistance from a Qualified Mechanic:
When you try to figure out what's wrong with your car using simple methods at home, sometimes it might not work. That's when it's a good idea to get help from a professional mechanic. These mechanics have special tools and know a lot about fixing cars. They can find out exactly what's causing the problem. They've fixed lots of different cars before, so they know what to do.
They can do big repairs that you might not be able to do at home. Also, if your car is still under warranty, getting it fixed by a professional is important because doing it yourself might cancel the warranty. Sometimes, car repairs can be dangerous, like fixing airbags or brakes. Mechanics know how to stay safe while fixing these things. So, when your simple tricks don't work, it's best to leave it to the experts!
Risks Associated with Ignoring the Check Engine Light:
The Check Engine Light serves as an important indicator of potential issues within a vehicle's engine or emissions control system. Ignoring this warning can lead to several risks and consequences that should not be overlooked.
Firstly, ignoring the Check Engine Light may result in increased emissions from the vehicle. When the engine is not functioning optimally, it can produce higher levels of harmful pollutants, contributing to environmental pollution and compromising air quality.
Neglecting to address the underlying problem indicated by the Check Engine Light can lead to damage to engine components over time. For instance, a malfunctioning sensor or ignition system issue left unchecked can cause further deterioration of engine parts, potentially resulting in costly repairs or even engine failure.
Furthermore, disregarding the warning may lead to failing emissions tests, particularly in areas where vehicle emissions are regulated. Vehicles with illuminated Check Engine Lights may not meet emissions standards, resulting in fines or the inability to legally operate the vehicle until the issue is resolved.
How To Reset A Check Engine Light Without A Scanner?
Resetting a Check Engine Light without a scanner can be a tempting solution for drivers seeking to eliminate the warning indicator temporarily. However, it's crucial to understand that this approach merely clears the symptom without addressing the underlying issue. Methods like disconnecting the battery or using other DIY techniques may temporarily turn off the light, but it doesn't fix the problem causing it to illuminate in the first place.
It's essential to tread cautiously when considering resetting the Check Engine Light without proper diagnosis and repair. While it may seem like a quick fix, ignoring the underlying issue can lead to potential risks and consequences down the road. The Check Engine Light is a warning sign that indicates a problem with the vehicle's engine, transmission, or emissions system. Resetting it without addressing the root cause can result in the issue persisting or worsening over time.
Therefore, it's strongly recommended to consult a qualified mechanic if the Check Engine Light reappears after a reset. A professional mechanic can use specialized diagnostic tools to identify the specific problem and provide appropriate repairs. Addressing the root cause of the issue ensures the long-term reliability, safety, and efficiency of the vehicle, rather than relying on temporary solutions that may lead to further complications. Remember, safety and the proper functioning of your vehicle should always be a top priority.
Secure Your Vehicle's Future with American Dream Auto Protect:
At American Dream Auto Protect, we understand the importance of keeping your vehicle running smoothly and reliably. Whether it's addressing Check Engine Light issues, providing comprehensive coverage for unexpected repairs, or offering peace of mind on the road, we're here for you.
Our team of experienced professionals is dedicated to delivering exceptional service and tailored solutions to suit your unique requirements. With a range of customizable protection plans, including extended warranties and vehicle service contracts, we ensure that you're covered against unforeseen breakdowns and costly repairs.
At American Dream Auto Protect, we prioritize transparency, reliability, and customer satisfaction. We believe in going above and beyond to exceed your expectations, providing you with the confidence and assurance you need to enjoy the journey ahead. Experience the difference with American Dream Auto Protect – where your automotive dreams become a reality.